~13 min
This March on Quel'danas raid guide provides a detailed breakdown of the final raid in WoW Midnight Season 1. The raid combines high mechanical complexity with strong narrative impact, focusing on the corruption of the Sunwell and the clash between Light and Void forces.
Inside this guide, you will find a full March on Quel'danas overview, boss strategies, loot breakdown, and practical tips to help you clear the raid across all difficulties.
Overview of March on Quel'Danas
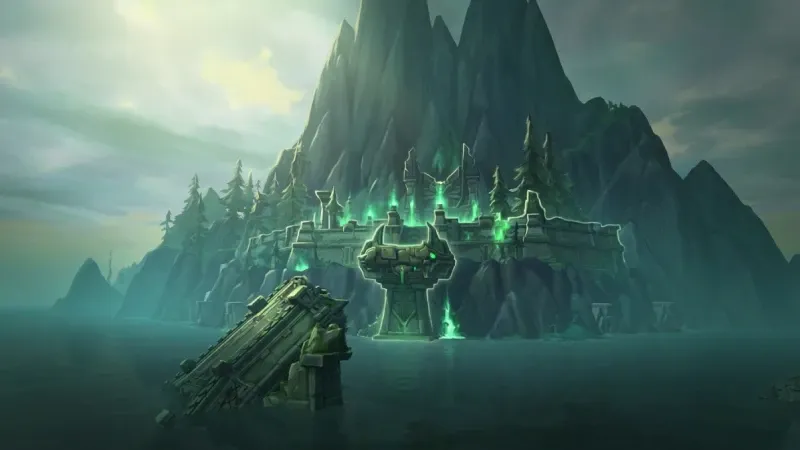
The March on Quel'danas overview highlights a short but mechanically demanding raid located on the Isle of Quel’Danas. Unlike previous raids in Midnight, this instance focuses on only two encounters, but both fights are designed to test positioning, coordination, and execution at a high level.
The raid plays a key role in Season 1 progression and serves as the final challenge before moving into later content tiers.
Release Date & Unlock Schedule
The March on Quel'danas release schedule is split into phases:
- March 31, 2026 - Normal, Heroic, Mythic
- April 7, 2026 - Raid Finder and Story Mode
This staggered schedule allows competitive players to progress early while still providing accessibility for casual players.
Raid Location and Entrance
The March on Quel’Danas location is the Isle of Quel’Danas. The raid entrance is positioned near the Sunwell and can be accessed at raid coordinates /way 52.7, 84.9.
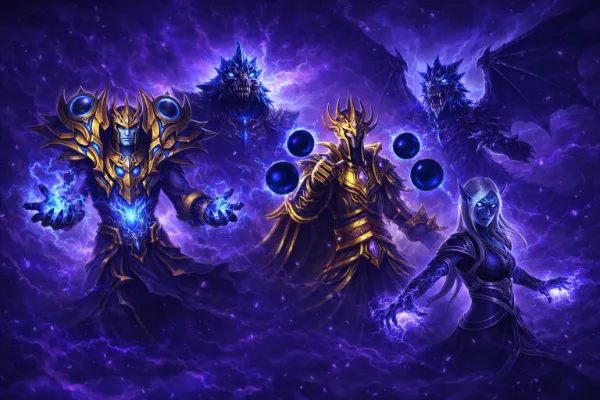
This area reflects the core theme of the raid - the ongoing struggle between Light and Void.
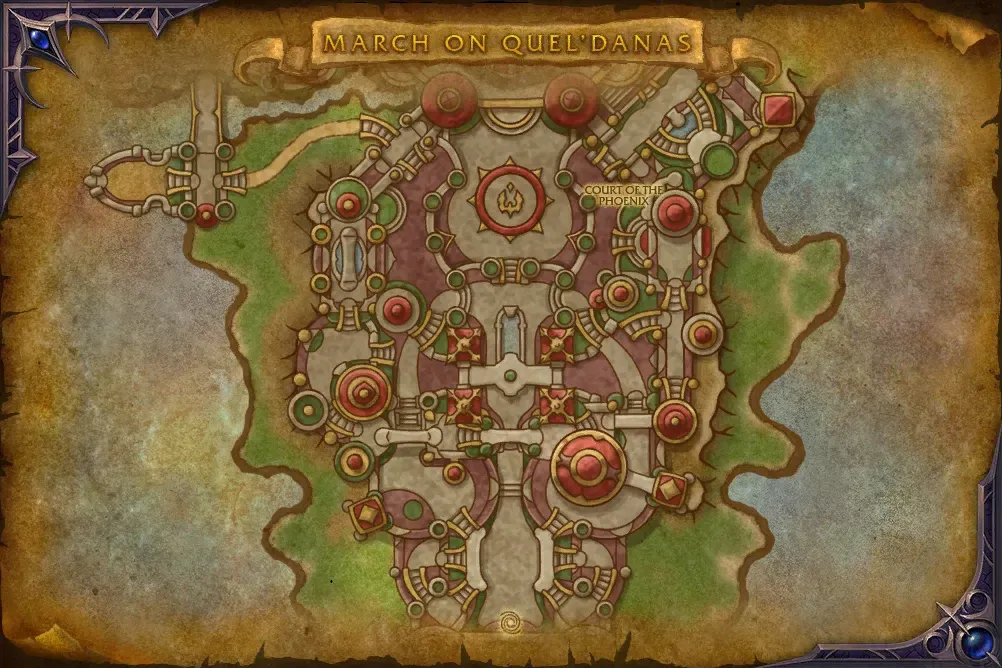
© image from https://www.wowhead.com
Boss List
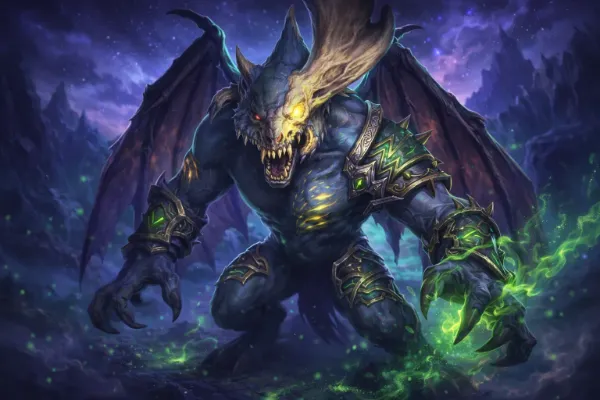
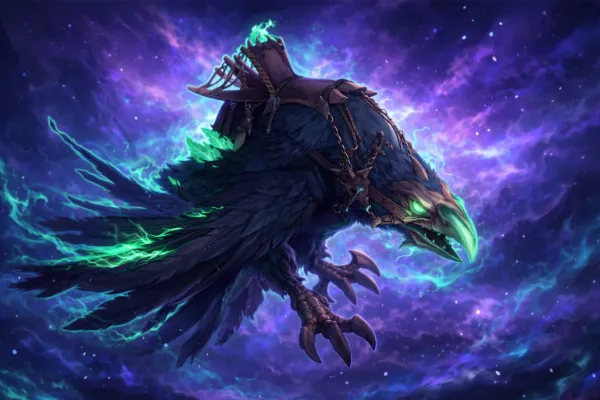
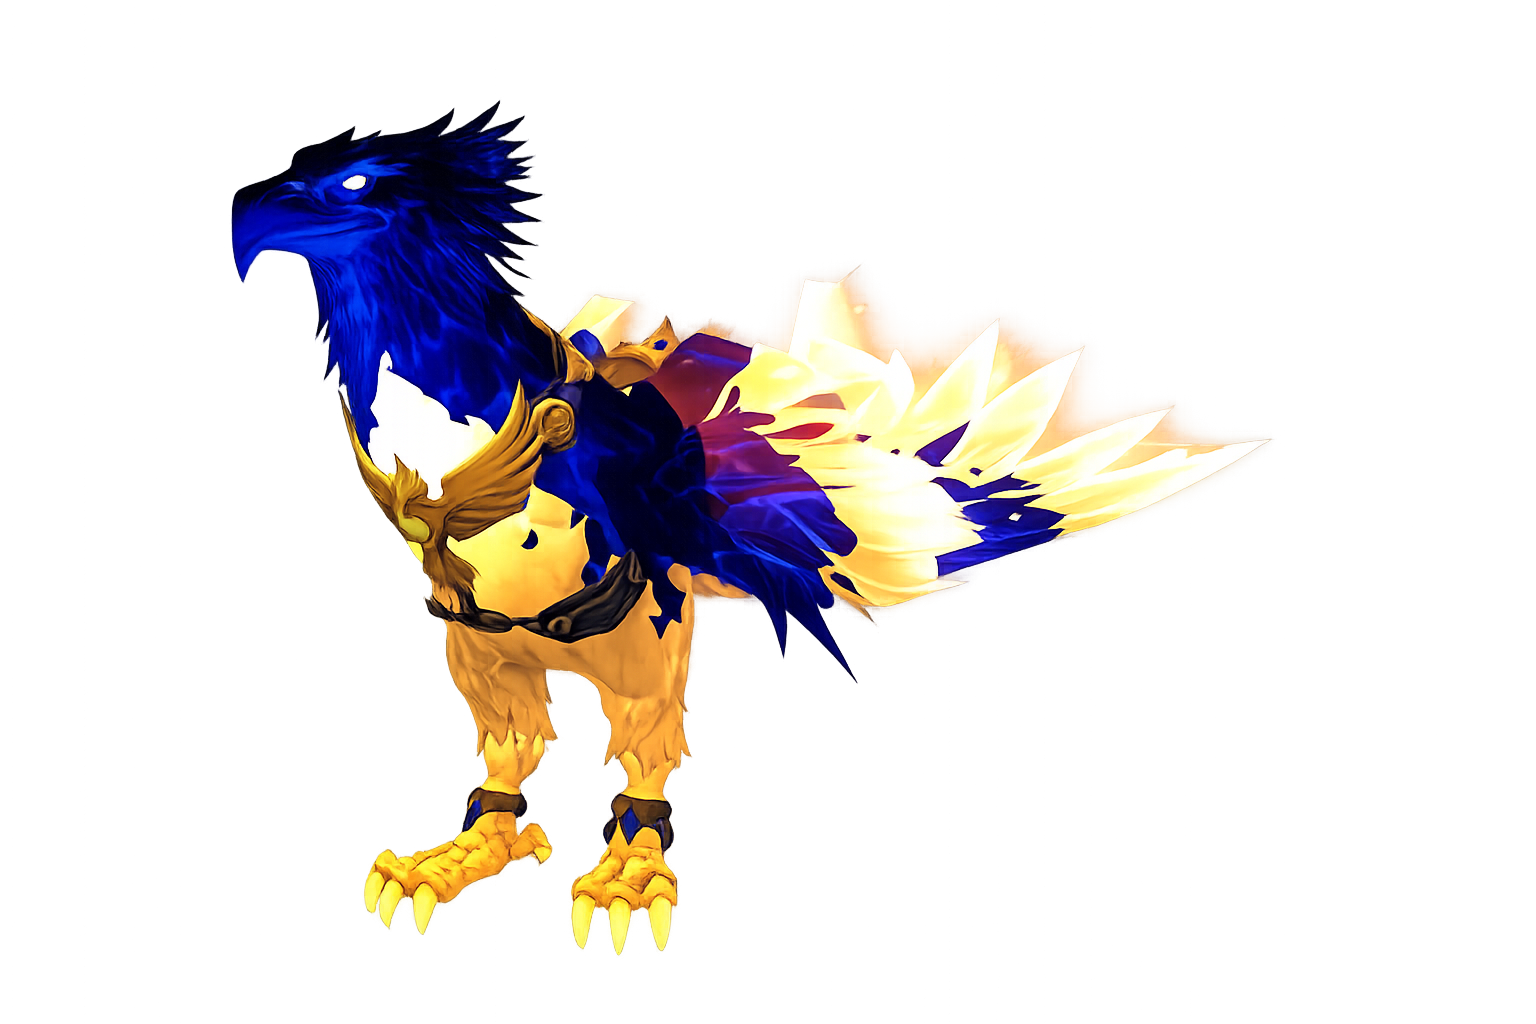
- Belo'ren, Child of Al'ar
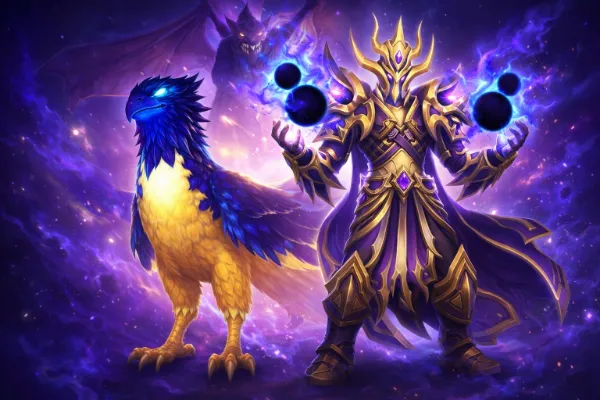
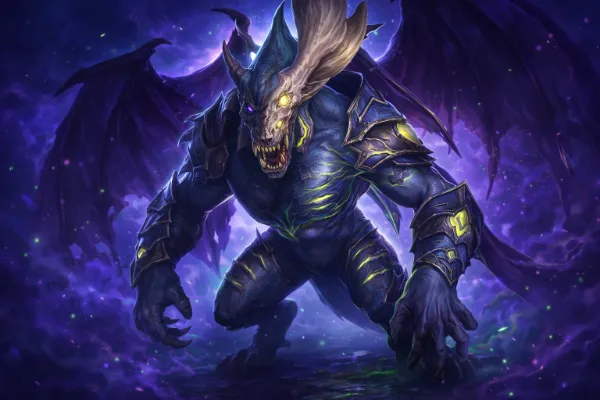
- Midnight Falls
Each boss represents a different stage of the Sunwell corruption and introduces unique mechanics tied to Light and Void interactions.
Difficulties and Minimum Item Level
The March on Quel’Danas difficulties include Raid Finder, Normal, Heroic, Mythic, and Story Mode. Each difficulty increases both mechanical complexity and incoming damage, requiring better gear and coordination.
Based on the loot scaling and encounter difficulty, the recommended minimum item level for each difficulty is:
- Raid Finder: ~235+ item level
- Normal: ~245+ item level
- Heroic: ~255+ item level
- Mythic: ~265–270+ item level
These values represent realistic entry points for stable progression. While it is technically possible to enter with lower gear, doing so significantly increases difficulty, especially during overlapping mechanics and final phases.
For smoother clears, it is recommended to be closer to the item level of drops from each difficulty tier, as this reduces pressure on healers and allows more room for mistakes.
If you want to skip the gearing grind or enter higher difficulties faster, you can use a WoW gear to quickly reach the recommended item level and start progressing comfortably.
March on Quel’Danas Loot & Rewards
The March on Quel’Danas loot system is focused on progression, offering strong item level upgrades, tier set access, and additional rewards tied to the Sunwell theme.
This raid is especially valuable for players looking to improve their character power early in Season 1, as it provides access to higher item level gear compared to earlier content. Both bosses drop meaningful upgrades, with the final encounter offering some of the strongest rewards available at this stage.
In addition to tier tokens, players can obtain powerful trinkets and weapons that are designed for endgame builds. These items often provide strong stat combinations and effects that perform well during high-pressure encounters, making them highly desirable for both progression and optimization.
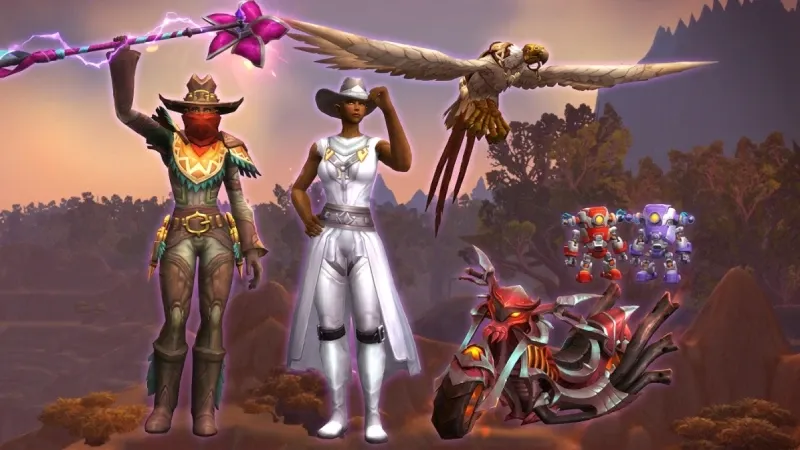
Beyond raw power, March on Quel’Danas offers cosmetic rewards, mounts, and collectibles tied to the Sunwell and its corruption. This makes the raid not only important for progression, but also for players interested in collecting unique visual rewards.
For players who want guaranteed rewards without relying on RNG or group performance, a March on Quel’Danas allows you to secure loot, achievements, and progression without unnecessary wipes.
Chiming Void Curio and Tier Set Access
The March on Quel’Danas tier tokens drop from the final boss. The chiming void curio system allows players to obtain tier pieces and unlock powerful set bonuses.
This makes the raid one of the primary sources of tier gear in WoW Midnight Season 1.
Item Levels by Difficulty
| Difficulty | Belo’ren | Midnight Falls | Crests |
|---|---|---|---|
| LFR | 240 | 243 | |
| Normal | 253 | 256 | |
| Heroic | 266 | 269 | |
| Mythic | 279 | 282 |
Belo’ren, Child of Al’ar
The first boss of the raid drops the following items:
| Item | Type |
|---|---|
| Cloth: Waist | |
| Cloth: Shoulder | |
| Leather: Chest | |
| Mail: Legs | |
| Mail: Feet | |
| Plate: Hands | |
| Ring | |
| Agility/Strength Trinkets | |
| Agility/Strength Trinket | |
| Dagger | |
| Dagger | |
| Shield |
Midnight Falls
Midnight Falls loot includes the following drops:
| Item | Type |
|---|---|
| Chest | |
| Helm | |
| Helm | |
| Legs | |
| Neck | |
| Ring | |
| Intellect | |
| Intellect | |
| Warglaives | |
| Axe | |
| Staff |
Housing Decor
March on Quel’Danas housing decor includes cosmetic rewards inspired by the Sunwell and its corrupted state.
| Decoration | Source |
|---|---|
| Belo’ren | |
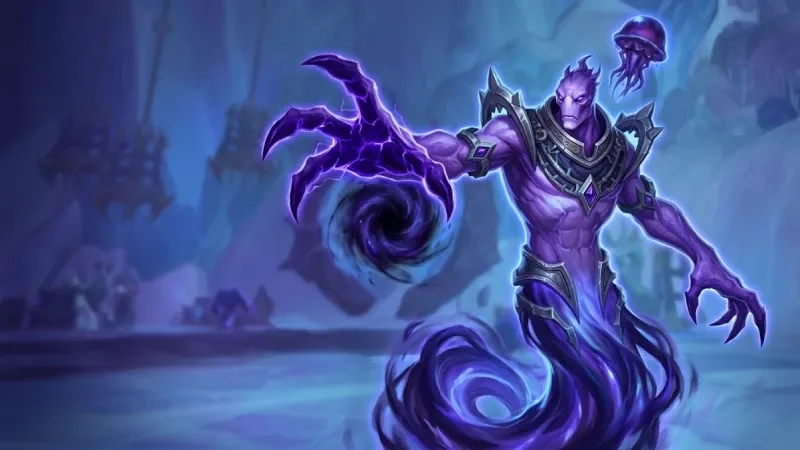
| L’ura | |
| L’ura Raid Finder / Normal | |
| L’ura Heroic | |
| L’ura Mythic |
Mounts
The March on Quel’Danas mount rewards are tied to achievements and progression milestones within the raid.
Are there any mounts from the March on Quel’Danas raid?
Yes, but only one mount is tied directly to the raid:
- Ashes of Belo'ren - drops from the final boss (Midnight Falls / L’ura) on Mythic difficulty only. It is not available on LFR, Normal, or Heroic.
After the season ends, the drop chance is significantly reduced (similar to legacy raid mounts).
Profession Recipe
March on Quel’Danas profession recipe drops include valuable crafting patterns such as:
| Recipe | Profession | Boss |
|---|---|---|
Blacksmithing | Midnight Falls |
How to beat March on Quel’Danas
This March on Quel’Danas boss guide focuses on execution, positioning, and awareness. Success depends on understanding mechanics and reacting quickly to changes in the encounter.
Core Mechanics Explained (Light vs Void System)
The March on Quel’Danas mechanics explained revolve around a Light vs Void system. Players must constantly adjust positioning based on active effects.
- Light zones reduce damage from specific abilities
- Void zones amplify or change incoming damage
- Incorrect positioning leads to heavy damage or instant failure
- Mechanics often overlap, requiring quick decision-making
Boss Guide – Belo'ren, Child of Al'ar Strategy
The Belo'ren strategy focuses on precise positioning, controlled movement, and proper handling of zone-based mechanics. This encounter introduces players to the core Light and Void interaction system that defines the entire raid.
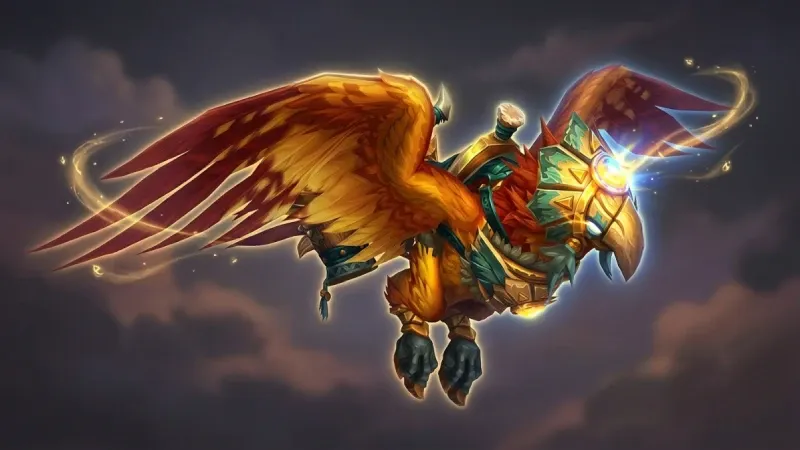
Belo'ren, Child of Al'ar, represents a fusion of fire and Light energy, creating a battlefield where positioning mistakes quickly become fatal.
Core Mechanics
Belo'ren mechanics revolve around space control and environmental pressure. The fight constantly forces players to reposition while managing overlapping effects.
- Light-infused zones that reduce incoming damage when used correctly
- Void-aligned effects that punish incorrect positioning
- Area denial mechanics that limit movement options
- Targeted abilities that require spreading or stacking
Understanding how these mechanics interact is essential for surviving later stages of the fight.
Phase 1: Phoenix Form Mechanics & Strategy
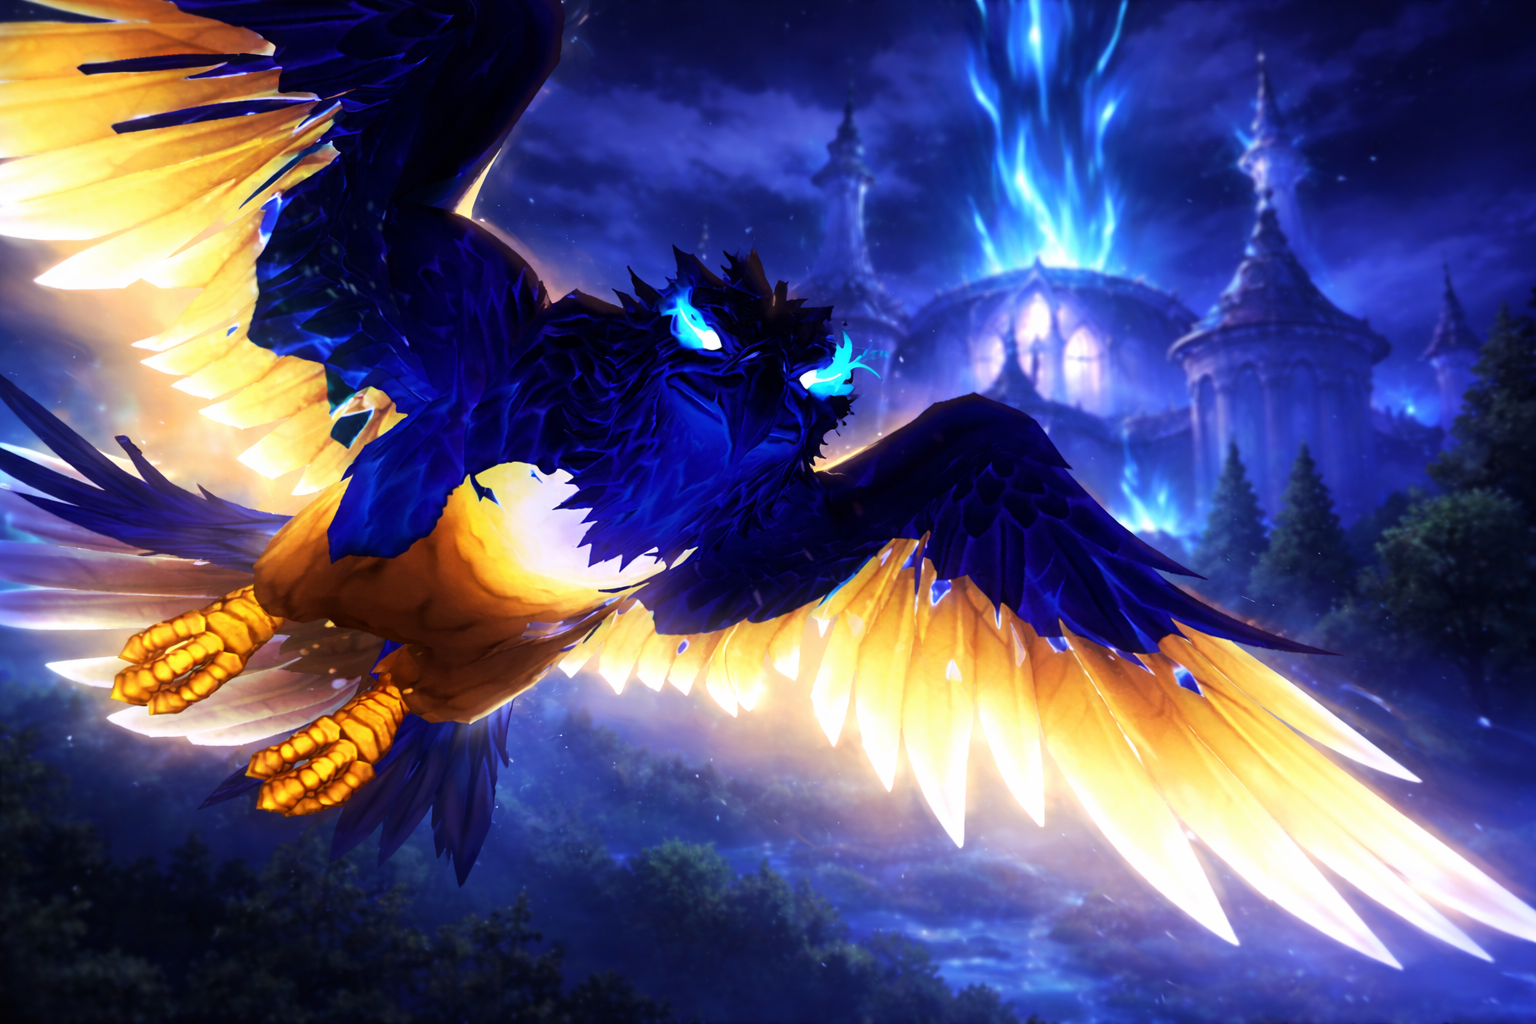
Belo'ren phase 1 establishes the foundation of the encounter. At the start of the encounter, Belo’ren appears in Phoenix form. This phase functions as a primary execution check that players must handle correctly before gaining access to meaningful damage on the boss’s core health pool.
- Light and Void Ember Phoenixes: During the phase, the boss summons adds that fixate on players of the opposite polarity and perform a Dive attack. These adds must be positioned carefully and controlled immediately, as poor placement can interfere with soak zones and reduce available space for future mechanics.
- Split Damage: When a Dive occurs, players of the corresponding color must stack inside the impact area to share the damage. If the soak is not handled properly, the result is usually lethal and can quickly destabilize the entire raid.
- Positioning Optimization: The most efficient approach is to stack these soak zones behind the boss. This setup allows for immediate cleave damage on the adds after they land and helps maintain control over the arena layout.
- Rebirth Prevention: After an Ember Phoenix is defeated, it transforms into an egg. These eggs must be destroyed within 15 seconds, otherwise the add will respawn at full health. Failure to consistently eliminate eggs leads to overwhelming add pressure over time and is a frequent cause of wipes.
- Radiant Echoes (Bouncing Orbs): Throughout the phase, waves of orbs move across the arena. Contact with an orb of the wrong polarity is typically fatal, making this mechanic a strict color-matching check rather than a flexible positioning challenge.
- Clearing Lanes: Players with the matching color should intentionally remove 3–4 orbs to create a safe passage. This mechanic is cooperative — you are clearing space for the opposite polarity group to move safely. On higher difficulties, orbs may ricochet off arena boundaries, making their trajectories less predictable and increasing the importance of early intervention.
- Movement Philosophy: Movement in this phase should always be proactive. Players must constantly plan their next safe position rather than reacting at the last moment. Since orb clearing benefits the opposite group, it is crucial to anticipate where space will be needed and act ahead of time. Delayed movement is one of the leading causes of deaths when mechanics overlap.
- Infused Quills: A player is targeted by a projectile of the opposite color. After a short delay, the quill is fired, and a player of the matching color must intercept it by standing in its path. If no one blocks the projectile correctly, the targeted player will take lethal damage.
Phase 2: Immortal Flame (Egg Phase Strategy)
Belo'ren phase 2 significantly increases the intensity of the encounter. Once Belo’ren reaches 0% health, the Phoenix triggers a Death Drop. Players should immediately move toward the edges of the arena to reduce incoming damage and knockback effects. After impact, it is critical to quickly reposition back toward the center to regain control. Poor movement here often leads to disorganization and weak setup for the rest of the phase.
- Interrupting the Rebirth: The Egg begins casting Incubation of Flames. If this cast is not effectively countered by sufficient damage, Belo’ren will be reborn and the encounter resets back to Phase 1. This phase is the key window to make real progress on the boss.
- Immortal Flame DPS Strategy: Damage dealt to the Egg is permanent and directly reduces the boss’s actual health pool. Because of this, it is highly recommended to use Bloodlust/Heroism and all major offensive cooldowns during this phase to maximize efficiency and reduce the number of cycles required.
- Pinwheel Dance Mechanic Explained: The Egg releases rotating beam patterns known as “Pinwheels.” Players must rotate along with these beams while staying strictly within their assigned color segment. Incorrect positioning or delayed movement will result in lethal damage, especially as additional raid-wide pressure continues throughout the phase.
- Scaling Difficulty and Soft Enrage: Each time Belo’ren is reborn, the raid receives a stacking debuff that reduces healing effectiveness by 10%. Over time, this creates a soft enrage where healing becomes insufficient to sustain the group. As stacks increase, even small mistakes become deadly.
Failing to deal enough damage during this phase prolongs the encounter, increases mechanical overlap, and significantly raises healing pressure in later cycles, making the fight progressively harder to control.
How to beat Belo’ren
To understand how to beat Belo'ren, focus on consistency rather than aggressive play. The fight rewards clean execution and punishes unnecessary risks.
- Always prioritize correct positioning over damage output
- Stay within reachable safe zones to avoid isolation
- Use defensive cooldowns during overlapping mechanics
- Maintain awareness of arena space at all times
Groups that remain disciplined and avoid panic during high-pressure moments will clear this encounter much more consistently.
If the strategy seems overwhelming and you'd rather not spend hours mastering mechanics or wiping on repeat, there’s always an option of going in Raid with us.
Boss Guide – Midnight Falls Strategy
Midnight Falls Quick Strategy:
The Midnight Falls strategy is built around handling constant raid-wide pressure, complex ability overlaps, and strict positioning requirements. This encounter represents the final stage of the Sunwell corruption, where Void energy fully dominates the battlefield and mechanics escalate without pauses.
Unlike earlier fights, this encounter introduces layered systems such as rune sequences, crystal management, and dimensional mechanics that require precise coordination from the entire raid.
Core Mechanics
The core mechanics of Midnight Falls revolve around managing multiple overlapping threats while maintaining control over positioning and raid space.
- Darkwell Zones: Certain areas of the arena become instantly lethal, forcing players to constantly adjust positioning and avoid restricted zones.
- Death’s Dirge & Dark Runes: Players are marked with runes tied to a sequence mechanic. Failing to resolve these correctly results in heavy raid-wide damage through dissonance effects.
- Crystals System: Different crystal types appear during the fight:
- Midnight Crystals must be destroyed quickly to prevent raid damage
- Dusk Crystals can be healed into beneficial Dawn Crystals
- Dawn Crystals provide protection but require careful handling
- Heaven’s Lance: A tank-focused mechanic that applies stacking damage and requires proper mitigation and swap timing.
- Area Pressure: Abilities such as beams, spinning glaives, and void eruptions constantly reduce safe space.
All of these mechanics overlap frequently, making positioning and coordination the most important factors for survival.
Phases breakdown
The encounter progresses through multiple stages with increasing difficulty and complexity.
Stage One – Final Tolls
- The fight begins with heavy area denial mechanics such as void beams and rotating glaives
- Players must correctly resolve Dark Rune sequences during Death’s Dirge
- Crystal mechanics are introduced, requiring both damage and healing coordination
- Raid damage steadily increases through ambient effects
This phase tests awareness and the ability to handle multiple mechanics simultaneously.
Intermission – Total Eclipse
- The boss channels energy while applying healing absorption effects to players
- Players are pushed toward the center while avoiding incoming projectiles
- Crystal management continues, requiring coordination under pressure
This stage limits movement and creates a controlled environment where positioning mistakes are heavily punished.
Stage Two – The Dark Reactor
- Players are pulled into the Darkwell and take constant damage
- Void Cores must be managed carefully to prevent large explosions
- Energy cycles introduce periodic burst damage events
- Movement is restricted while handling pull mechanics and AoE damage
This phase introduces heavy raid damage and tests resource management, especially healing and defensive cooldowns.
Final Stage – Midnight Falls
- Constant raid-wide damage intensifies throughout the phase
- Players must handle dimensional splits where groups are separated
- Dark Constellation patterns require precise positioning
- Light Siphon mechanics punish poor positioning and delayed reactions
- Dawn Crystals provide protection but must be used carefully
This is the final burn phase where all mechanics overlap and execution must remain consistent until the boss is defeated.
How to beat Midnight Falls
To defeat Midnight Falls, the raid must maintain control over mechanics while minimizing mistakes throughout the encounter.
- Resolve Dark Rune sequences correctly to avoid raid-wide damage
- Prioritize crystal management to control incoming damage
- Maintain proper positioning to avoid lethal zones
- Coordinate defensive cooldowns during high-damage phases
- Adapt quickly to movement restrictions and overlapping mechanics
This encounter rewards consistency and coordination. Groups that stay organized and avoid panic during high-pressure moments will have the highest chance of success.
March on Quel'danas common mistakes
Frequent issues in this encounter usually come from poor coordination and delayed reactions during key mechanics:
- Slow response to quill targeting: Delayed reactions, especially during overlapping mechanics, often result in unavoidable damage or deaths.
- Improper tank positioning: Mistakes during the Edict combo can grant the boss additional damage, putting extra pressure on the raid.
- Failure to re-check polarity after rebirth: Ignoring polarity resets leads to instant deaths due to incorrect positioning.
- Poor Phoenix egg management: Leaving eggs alive causes adds to respawn, quickly overwhelming the raid in later cycles.
- Over-clearing orb lanes: Removing too many orbs can block safe paths needed by the opposite group, disrupting movement and positioning.
Tips for Clearing March on Quel’Danas
Success in March on Quel’Danas is not about raw damage output, but about maintaining control and consistency under pressure. Most wipes happen when multiple small mistakes overlap rather than from a single major error.
Keep these priorities in mind:
- Consistency over greed: Clean execution is far more valuable than pushing extra damage at the risk of mistakes.
- Respect overlapping mechanics: When abilities stack, focus on safe positioning instead of secondary tasks.
- Polarity comes first: Wrong color interactions lead to instant deaths and are often impossible to recover from.
- Manage adds and eggs early: Uncontrolled Phoenix eggs quickly create overwhelming pressure in later cycles.
- Save cooldowns for Immortal Flame: This is the key phase for real boss progress, so maximize your impact here.
- Play for the raid: Handling mechanics and clearing space for other players is critical for overall success.
FAQ:
Where is the March on Quel'Danas entrance?
The entrance to March on Quel’Danas is located on the Isle of Quel’Danas at coordinates /way 52.7, 84.9. The raid is positioned near the Sunwell, which is central to the storyline of this encounter. Once unlocked, players can access the instance directly from this location without additional requirements.
How many bosses are in March of Quel’Danas?
March on Quel’Danas includes a total of 2 bosses. While this may seem like a small number compared to other raids, both encounters are designed to be mechanically intensive and require strong coordination, making the raid feel more challenging than its size suggests.
How long does it take to clear March on Quel’Danas raid?
The raid itself is relatively short due to having only two encounters. However, the total clear time depends heavily on your group’s experience, coordination, and familiarity with the mechanics. Progression groups may spend significant time learning encounters, while experienced groups can complete the raid much faster once strategies are optimized.
Is March on Quel'Danas Hard?
Yes, March on Quel’Danas is considered a challenging raid, especially on higher difficulties. The encounters rely heavily on correct positioning, handling Light and Void mechanics, and reacting to overlapping abilities. Even small mistakes can quickly lead to wipes, making consistency and coordination essential for success.
What is the minimum item level for March on Quel’Danas?
There is no single fixed minimum item level for all difficulties, but the raid is designed for endgame players. It is recommended to enter with gear appropriate for your chosen difficulty level, as higher difficulties significantly increase both damage requirements and mechanical complexity.