~14 min
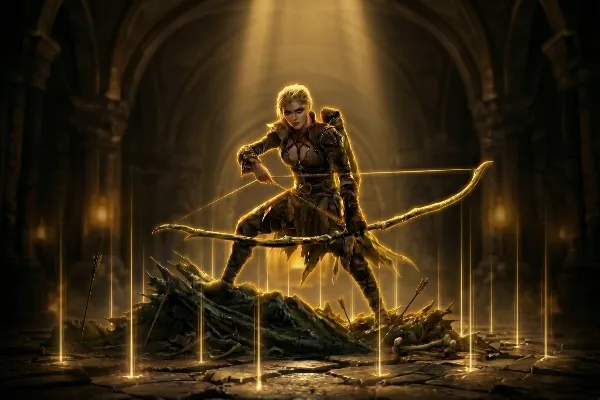
This guide builds the Ice Shot Deadeye into a complete Path of Exile 2 league starter for Runes of Aldur (patch 0.5.0): a full leveling path from act 1, the skill and support setup, the ascendancy order, a slot-by-slot gear and stat priority, the boss and mapping rotation, and an Atlas plan for the endgame.
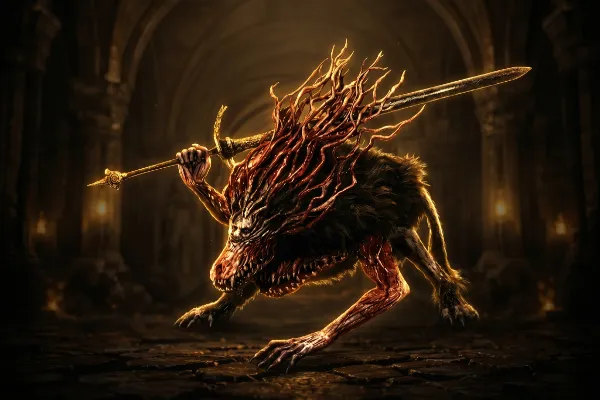
The short version is kite, freeze, shatter. Ice Shot scatters cold projectiles into a pack, almost everything freezes, and Herald of Ice turns the frozen bodies into chain explosions that wipe the screen. Frozen enemies cannot move, attack, or cast, so the freeze is your main defensive layer as much as your clear, and no unique items are required to reach red maps.
One catch shapes the whole campaign: Ice Shot does not unlock until level 31, so you level with Lightning Arrow and Lightning Rod first and swap later. The sections below follow the order you actually progress in: level up, swap to Ice Shot, gear up, then push the Atlas.
Ice Shot Deadeye at a Glance
Everything you need to know in one screen before the detail below.
| Topic | Summary |
|---|---|
| Class / Ascendancy | Ranger into Deadeye |
| Role | League starter, fast mapper, strong single target via Snipe |
| Main skill | Ice Shot (unlocks at level 31) |
| Leveling skills | Lightning Arrow + Lightning Rod (level 1 to 30) |
| Core loop | Freeze packs, then Herald of Ice shatter chains |
| Ascendancy order | Projectile Proximity Specialisation (Point Blank), Endless Munitions, Gathering Winds, Mirage Deadeye |
| Required uniques | None |
| Defensive layers | Evasion, Freeze, and Deflect (new in 0.5.0) |
| Biggest upgrade at every stage | Your bow |
| Target life | 2,500+ entering maps, 4,000+ in deep endgame |
Why Play Ice Shot Deadeye in Runes of Aldur
It hits every mark of a clean league starter: a low barrier to entry, a smooth campaign, and a clear upgrade path into the endgame. The one real weakness is how much it leans on freezing and positioning to stay safe.
| Strengths | Weaknesses |
|---|---|
| No mandatory uniques, clears T15 maps on pure rares | No Ice Shot until level 31 |
| Fast clear from Herald of Ice chain explosions | Squishy in the rare moment a pack does not freeze |
| Freeze works as near-permanent crowd control | Bosses need the Barrage into Snipe setup to feel strong |
| Scales smoothly from campaign into T18 maps | Has to juggle Dexterity and Intelligence on gear |
| Deflect (added 0.5.0) layers onto your evasion | Positioning matters more than on a tanky build |
Leveling the Ice Shot Deadeye (Act 1 to Level 31)
Because Ice Shot is locked until level 31, the campaign is really a Lightning Arrow leveling run that turns into an Ice Shot character once you can equip the gem. Keep the playstyle simple, keep upgrading your bow, and bank the gems you will need for the swaps.
Campaign Skill Setup (Before Ice Shot)
Lead with Lightning Arrow for clear and Lightning Rod for tougher targets. Frost Bomb adds extra cold and helps on durable enemies, and Herald of Thunder is your spirit skill until you can run Herald of Ice after the Ice Shot swap. Barrage and Ice-Tipped Arrows come online to build your single-target setup.
Pick up Lightning Rod first, then Frost Bomb, aiming to have both before the Devourer and cold witch fights (a chest in Clearfell reliably drops a level 1 skill gem). While you are short on sockets or strength, move Elemental Armament between Lightning Arrow and Lightning Rod on bosses for the burst, then move it back for clearing.
Weapon and Gear Path While Leveling
Your bow carries the run, so chase damage on it constantly and treat everything else as resistances, attributes, and movement speed. Flat damage to attacks (cold or physical) on gloves and rings is the strongest secondary stat in acts 1 and 2, so check the vendor every level or two for it, and never give up movement speed boots once you have them.
| Point | What to do |
|---|---|
| Redvale | Grab a Shortbow and reach level 5 before fighting the Rust King |
| Level 11 | Move to a Warden Bow, just the highest DPS one you find or buy; spend no currency on it |
| Level 16 | Craft a 6-mod Recurve Bow with 2 sockets; this is where your saved Transmutation, Augmentation, Regal, Exalted, Alchemy and an Artificer's Orb go |
| Flasks | Buy a fresh life and mana flask at each tier breakpoint: levels 10, 16, 23, 30, 40, 50 and 60 |
| Salvage | Salvage quality weapons for Whetstones and socketed items for Artificer's Orbs the entire campaign |
An ideal leveling quiver has +levels and a high amount of flat damage; the base does not matter much. Lean toward evasion or evasion and energy shield hybrid gear, and use helmet, belt and amulet slots to cover attribute requirements. If you would rather skip the grind, NextTier can handle the run with campaign completion, or set you up with ready leveling gear so you start ahead.
Save Your Gems for the Swaps
There are two gem reshuffles to plan around. A mini swap happens around level 22, and Ice Shot finally replaces Lightning Arrow at level 31. Do not spend any level 6 or 7 uncut gems before the level 22 swap, and hold your level 5 gems as well so you can slot the right skills cleanly when the time comes.
Early Boss Order and Quest Rewards
A tidy early kill order keeps your power curve ahead of the content: Devourer, then the cold witch, then the hut witch, then the Rust King. Take Rapid Attacks after the Devourer and Elemental Armament after the hut witch.
| Quest reward | Pick |
|---|---|
| Act 2 - Valley of the Titans (Medallion) | Increased charm charges gained |
| Act 3 - Venom Crypts (Venom Draught) | Stun threshold |
| Act 4 - Tawhoa's Test (tattoo) | Dexterity, lightning resistance, fire resistance |
| Act 4 - Abandoned Prison (Goddess of Justice) | Life recovery from flasks |
| Interlude - Tabana's Pillar | Resistance, movement speed, or global defense (free to change later, so do not stress it) |
A few campaign pickups are worth a small detour every time: the Exalted Orb in Act 1 Hunting Grounds, the Alchemy Orb in Act 1 Ogham Manor (useful for your level 16 weapon), the Lesser Jeweller's Orb from the Act 2 Mastodon, and the Greater Jeweller's Orb from Act 4 Ngakanu. Do not skip the two Jeweller's Orbs.
Ice Shot Deadeye Skills and Support Gems (Endgame)
Once Ice Shot is online, the build settles into a clear skill (Ice Shot), a single-target finisher (Snipe), a projectile buff (Ice-Tipped Arrows), and the two Heralds for damage and crowd control. Support gems matter a lot here: moving from the Tier I to the Tier II version of a support is a real DPS jump, and the hybrid Dexterity/Intelligence supports are safe to level first because you can run them in any setup.
| Skill | Support gems |
|---|---|
| Ice Shot | Elemental Armament II, Ice Bite II, Rapid Attacks II, Fork |
| Snipe | Elemental Armament II, Concentrated Area, Elemental Focus, Window of Opportunity II, Close Combat II |
| Tornado Shot | Prolonged Duration II, Overabundance II, Durability |
| Ice-Tipped Arrows | Magnified Area II, Elemental Armament II, Short Fuse I, Longshot II |
| Freezing Mark | Mark of Siphoning II, Charged Mark, Eternal Mark |
| Barrage | Cooldown Recovery II, Perpetual Charge, Rapid Casting II |
| Herald of Ice | Magnified Area I, Elemental Armament II, Longshot II, Cold Attunement |
| Combat Frenzy | Charge Profusion II |
| Mirage Deadeye | Ice Shot, Elemental Armament II, Deliberation, Rapid Attacks II |
Link and Quality Priority
On a 6-link, prioritise your supports in this order: Snipe, then Ice Shot, then Herald of Ice, then Freezing Mark. If you are still on a 5-link, drop the last support, and keep Elemental Armament at its Tier II version rather than Tier III. For gem quality, Freezing Mark returns the most value per quality currency, followed by Herald of Ice, Snipe, then Ice Shot. Mirage Archer is a hands-free spirit alternative to Mirage Deadeye while leveling; swap it out if your Spirit reservation gets tight.
Skill Rotation
Keep your damage skills on weapon set 1 and Freezing Mark on weapon set 2, then weave the two together. Freezing Mark lasts 20 seconds, so its uptime is the only real upkeep while mapping.
Mapping:
- Apply Freezing Mark to a rare at the start of an area on weapon set 2.
- Swap to weapon set 1.
- Spam Ice Shot into packs and let Herald of Ice handle the shatter chains.
- Reapply Freezing Mark whenever the buff drops, especially after a long chase.
Bosses:
- Pre-place Tornado Shot on the ground before you engage.
- Cast Ice-Tipped Arrows to imbue your projectiles.
- Spam Ice Shot until the boss is frozen.
- Activate Barrage, then fire Snipe into the frozen target for the burst.
- Refresh Tornado Shot and Freezing Mark before each Barrage and Snipe cycle.
Skip Snipe on trash. It is a setup tool for frozen rares and bosses, and using it on normal packs just wastes the windup.
Mana sustain is mostly a gear problem: run one sapphire jewel with mana gained on kill for mapping, and on bosses lean on Mark of Siphoning II with Eternal Mark support on Freezing Mark so you do not run dry mid-burst.
Ascendancy Order
The Deadeye points give you projectiles, attack and movement speed, and an extra defensive cushion through Deflect. Take them in this order:
- Projectile Proximity Specialisation (Point Blank) - first pick. Big close-range damage that smooths out the campaign and early maps.
- Endless Munitions - +2 projectiles on all attacks. A flat clear upgrade, and each extra projectile that lands on a frozen boss feeds your Barrage and Snipe burst.
- Gathering Winds - Tailwind stacks on kill for more attack and movement speed.
- Mirage Deadeye - spawns a mirage copy that repeats your channelled skills, adding damage with no extra button presses.
If you grab Gathering Winds while still leveling, adjust your Snipe timing so the speed boost does not throw off the burst.
Passive Tree Priorities
There is no required keystone here. The tree is built from a wide spread of strong value nodes around projectile damage, cold damage, attack speed, evasion, and critical strikes as you head into the endgame. Once you have a solid evasion chest, start picking up deflection nodes such as The Wild Cat, Enhanced Reflexes, and Trained Deflection to convert that evasion into Deflect.
| Notable passive priorities | |||
|---|---|---|---|
| Honed Instincts | Flow Like Water | Deep Freeze | Marked for Sickness |
| Clean Shot | Flow State | Concussive Attack | Marked Agility |
| Harness the Elements | Escape Velocity | Blinding Strike | Frazzled |
| Agile Succession | Catalysis | Snowpiercer | Hail |
| Essence of the Mountain | Acceleration | Maiming Strike | The Noble Wolf |
| Step Like Mist | Bestial Skin | Quick Fingers | The Wild Cat |
This is roughly a level 75 tree, so you can enter maps around level 60 to 65 and fill the rest as you go. Lean into evasion and deflection nodes if you are dying and damage nodes if you are not, keep Dexterity as your default attribute, and pick up Feathered Fletching if your quiver rolls projectile speed.
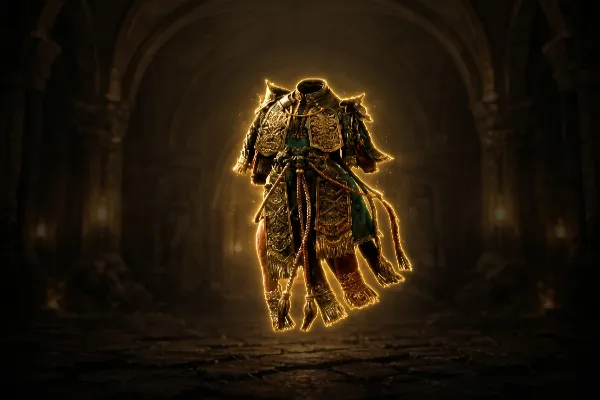
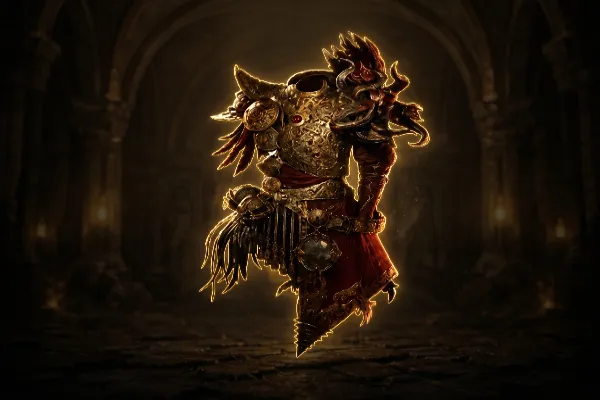
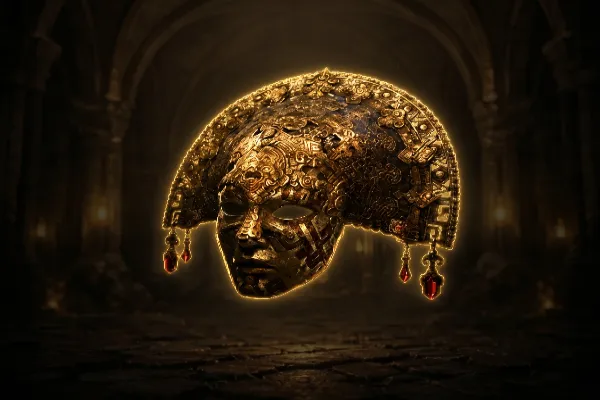
Gear: Best Bases and Priority
Gearing follows one rule above all others: the bow comes first, every time. Early and mid game you are chasing raw damage, and as you go deeper into the Atlas you start layering in defense. For mapping, the Obliterator Bow base is the standard pick for its high base damage.
| Slot | Target base |
|---|---|
| Weapon | Obliterator Bow |
| Quiver | Volant Quiver |
| Helmet | Desert Cap |
| Body Armour | Corsair Coat |
| Gloves | Grand Bracers |
| Boots | Cavalry Boots |
| Belt | Rawhide Belt |
| Amulet | Stellar Amulet |
| Rings | Prismatic Ring |
| Charms | Thawing Charm, Silver Charm, Dousing Charm |
Priority order as you upgrade:
- Bow - upgrade it throughout the entire game; nothing else moves your DPS as much.
- Quiver - a major damage piece; once your bow carries enough damage you can swap to a Cadiro's Gambit and free up the rare slot.
- Gloves and rings - flat damage to attacks, cold or physical.
- Body armour - the highest evasion you can find, with a Greater Iron Rune in the socket; it pairs with the Bestial Skin wheel on the tree for heavy damage reduction.
- Boots - movement speed first, then life and resistances.
- Helmet - life, evasion, and resistances early; later swap to a Subterfuge Mask for high energy shield, around 450, as you move to a hybrid setup.
- Amulet - +projectile mods and Spirit; keep at least 30 Spirit available for your spirit gems.
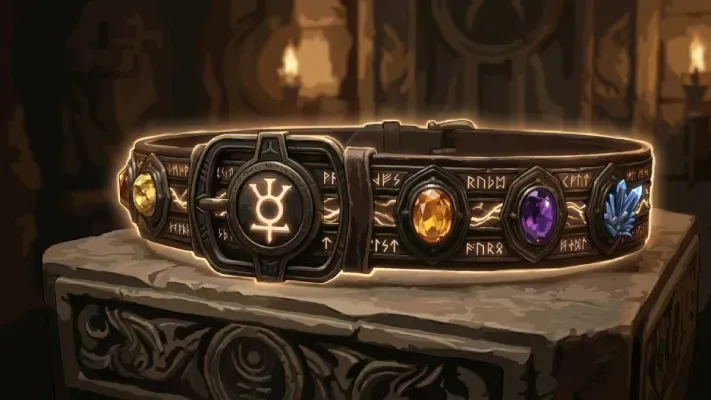
- Belt - life, resistances, and strength if you need the attribute; upgrade to a Headhunter before your crit swap, since it is the belt to aim for rather than an optional luxury.
- Jewels - add last; Heart of the Well and Against the Darkness are the strong endgame picks.
For the endgame the single largest DPS jump is a strong physical DPS bow. Hyrri's Ire is an excellent body armour for the evasion it provides, which in turn fuels Deflect, and the deflection rating on your gear pushes that layer further.
Once you are on the crit setup, anoint your amulet with Serrated Edges; it is cheap and a clean damage gain.

Stat Priority
Stat goals shift between the campaign and the endgame. Do not sleep on suffixes late: Critical Strike Chance and Critical Damage Bonus multiply every other damage source on your tree.
Campaign and early mapping:
- Cap fire, cold, and lightning resistances at 75%; aim for 30 to 50% chaos resistance.
- Reach 2,500+ life on entering maps, scaling toward 4,000+ later.
- Flat cold or physical damage to attacks on rings and gloves.
- Movement speed on boots, which is non-negotiable.
- Meet Dexterity and Intelligence gem requirements; runes are a temporary fix, not a permanent one.
Endgame:
- Critical Strike Chance for reliable freezes on all content, including rares.
- Critical Damage Bonus, which scales every crit modifier on the tree.
- Flat cold and elemental damage, especially on gloves, quiver, and rings.
- Attack speed after your crit stats are set, since it does not raise damage per hit.
- Evasion rating, which scales with Deflect and Ghost Dance for layered defense.
The Crit Transition (Non-Crit Into Crit)
Enter maps on a pure life and evasion, non-crit setup. This gear is cheap and easy to acquire even in solo self-found or with very light trading, which is exactly what you want at league start. The crit version is the upgrade you grow into, not something you rush.
| Stage | When | Key requirement |
|---|---|---|
| Early non-crit | Entering maps, solo self-found | Life and evasion, whatever drops |
| Non-crit mid | Stable mapping | Heart of the Well jewel and a good bow |
| Hybrid swap | After Headhunter | A roughly 450 energy shield helmet and an evasion chest |
| Full crit | Endgame | Crit bow plus crit quiver, and Against the Darkness |
- Build out the full non-crit setup first. A Headhunter is a strong, cheap pickup before you flip to crit.
- Prioritise a genuinely good crit bow and crit quiver before swapping your stats over to crit.
- A big evasion chest is a major defensive boost; aim for roughly a 450 energy shield helmet when you move to a hybrid setup.
- Round out solid boots, gloves, rings, and an amulet (look for +2 projectiles and Spirit on the amulet).
- Heart of the Well and an Against the Darkness with extra cold are the jewels to chase.
If you would rather skip straight to a tuned endgame character, a ready league starter build gets you there without the gear-hunting grind.
Atlas Passive Strategy
Because this build clears dense content so quickly, any Atlas investment that raises pack size pays off directly in loot and experience. Build the Atlas in three phases:
- Sustain (first ~20 points) - take the nodes that improve your odds of dropping higher-tier maps. Running out of maps is what actually slows you down, so secure this before anything else.
- Density (mid Atlas) - once sustain is set, push monster pack size and increased quantity. Your clear speed turns extra density straight into rewards.
- Rarity and currency (endgame) - aim for around 100% item rarity across gear and Atlas, but never at the cost of damage or defense; if your clear slows down, the rarity is wasted.
| Core Atlas nodes |
|---|
| Rising Danger into Twin Threats, Expanding Hordes, and Bountiful Bloodlines |
Tips to Stay Alive and Clear Faster
- Keep Freezing Mark up at all times while mapping. It lasts 20 seconds and is easy to maintain, but reapply it after a long chase.
- Upgrade your bow constantly. Replacing it every 5 to 10 levels is correct, not wasteful; a weak bow drags your DPS down more than any other slot.
- Always level your hybrid Dexterity/Intelligence support gems. They stay usable in any setup as their requirements climb.
- Save Snipe for frozen rares and bosses. On trash packs it only burns setup time.
- Treat freeze as your defense. Frozen enemies cannot fight back, so steady Ice Shot uptime keeps you safe and clearing at once.
- Most deaths come from a freeze breaking on a freeze-resistant rare mod or from pushing into a pack ahead of your Herald of Ice. Stay patient on those.
Ice Shot Deadeye FAQ
When do I unlock Ice Shot?
At level 31, which needs a level 9 skill gem. Until then you level with Lightning Arrow and Lightning Rod.
Is Ice Shot Deadeye a good league starter in Runes of Aldur?
Yes, it is one of the best. It clears T15 maps on pure rares with no mandatory uniques, the leveling path is well established, and the Deflect mechanic added to Deadeye in 0.5.0 noticeably improves endgame survivability.
What bow should I use?
For mapping, the Obliterator Bow base is the standard for its high base damage. In the endgame, a high physical DPS bow is your single biggest upgrade, so keep hunting for a better one.
How do I handle boss fights?
Use the Barrage into Snipe combo on a frozen target. Pre-place Tornado Shot, buff with Ice-Tipped Arrows, freeze the boss with Ice Shot, then Barrage and Snipe. Keep Freezing Mark on the boss the whole fight.
How much life do I need for the endgame?
Around 2,500+ on entering maps, scaling toward 4,000+ for deep T15 to T18 content. Your evasion, freeze, and Deflect layers lower the demand on raw life compared to older versions of the build.
Can it clear all endgame content?
Yes. With the crit transition and good gear it handles T18 maps, Tier 4 Arbiter, and the rest of the endgame bosses.
Do I need any unique items?
No. The build functions entirely on rares. Cadiro's Gambit (quiver) and Hyrri's Ire (body armour) are strong optional endgame upgrades, not requirements.
Should I play Deadeye or Pathfinder for Ice Shot?
Deadeye is the stronger and more popular choice. Pathfinder works, but it leans into poison and flask play that this cold build does not use, while Deadeye's Mirage Deadeye effectively repeats your attacks for a large endgame damage gain.