~13 min
This guide builds the Twister Spirit Walker into a complete Path of Exile 2 league starter for Runes of Aldur (patch 0.5.0): how the new Huntress Spirit Walker ascendancy works, the Whirling Slash into Twister combo, the two-weapon-set setup that the whole build hinges on, the skill and support gems, a slot-by-slot gear and stat priority, the boss and mapping rotation, and an Atlas plan for the endgame.
The short version: you spin up a storm with Whirling Slash, release a volley of Twister tornadoes, and Ice-Tipped Arrows turns those tornadoes to cold so packs freeze and shatter offscreen. The same combo carries both mapping and bosses, which is what makes the build so smooth, and no unique items are required to reach red maps.
Two things make this build distinct: it leans on a new ascendancy that feeds you Primal Owl Feathers, and it runs two weapon sets with very different jobs. Both get their own section below. You get both core skills at level 1, so you run the real build from the very start of the campaign.
Twister Spirit Walker at a Glance
The whole build on one screen before the detail below.
Topic | Summary |
|---|---|
Class / Ascendancy | Huntress into Spirit Walker (new in 0.5.0) |
Role | League starter; same combo clears maps and kills bosses |
Core skills | Whirling Slash, Twister, Barrage, Ice-Tipped Arrows (all usable from level 1) |
Core loop | Three Whirling Slash to empower Twister, cast Twister, freeze and shatter |
Damage type | Physical converted to Cold via Ice-Tipped Arrows |
Ascendancy order | Primal Bounty, Mhacha's Gift, Wild Protector, Vivid Stampede + Sacred Unity |
Weapon sets | Set 1 = attack speed for Whirling Slash; Set 2 = flat damage for Twister |
Required uniques | None |
Defensive layers | Evasion, Deflection, freeze, and a summoned Bear |
Biggest upgrade at every stage | Your spear |
Target life | 2,500+ entering maps, 4,000+ in deep endgame |
Why Play Twister Spirit Walker in Runes of Aldur
It is one of the most complete starters heading into 0.5.0: fast progression, huge clear, and real boss damage without expensive gear. Its strength is using a single combo for almost everything while freezing packs and hitting from offscreen. The catch is the combo itself, since your damage falls off hard if you do not keep Whirling Slash set up correctly.
Strengths | Weaknesses |
|---|---|
No mandatory uniques, clears T15 maps on rares | Combo-style play can feel demanding |
Both main skills are available from level 1 | The boss damage setup takes a moment to land |
Massive offscreen clear from Twister projectiles | You are exposed if the Whirling Slash setup breaks |
One combo covers both mapping and single target | Needs careful weapon-swap management |
Freeze and chilled ground add survivability | Positioning matters in boss fights |
Fast movement and smooth endgame scaling | Defenses lean heavily on Evasion and Deflection |
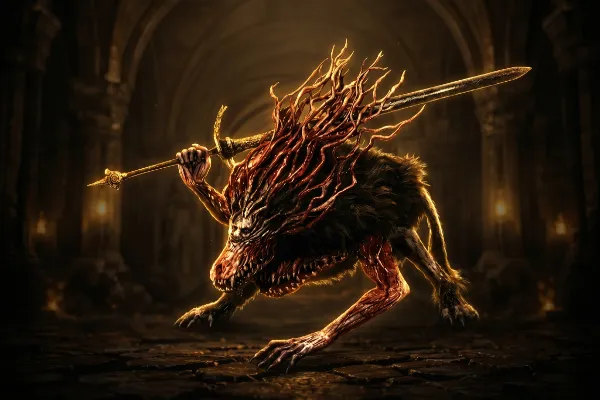
How the Spirit Walker Ascendancy Works
Spirit Walker is a new Huntress ascendancy added in patch 0.5.0 Return of the Ancients, and it offers two distinct playstyles. One is companion-focused: you tame unique bosses as allies and summon a Bear to soak damage for you. The other empowers your own attacks through summoned spirits, namely the Primal Owl, the Vivid Stag, and the Bear.
This build uses the spirit side. Primal Bounty and Mhacha's Gift steadily generate Primal Owl Feathers, and those feathers are what supercharge Twister, adding extra tornado projectiles and increasing their speed. You spend feathers by dodge rolling, which is why the build wants you rolling on cooldown rather than hoarding them. The result is a build that scales its tornadoes through the ascendancy itself, not through a mandatory unique.
The Core Combo and How It Plays
Everything revolves around four skills feeding Twister: Whirling Slash empowers it, Barrage adds tornadoes, and Ice-Tipped Arrows converts the whole thing to cold for freezes. The loop is the same idea everywhere, you just add the boss tools for tougher targets.
Mapping:
- Use Ice-Tipped Arrows whenever it is available to keep Twister converted to cold.
- Perform three Whirling Slash attacks to fully empower your Twister.
- Cast Twister while you are still standing inside the whirlwind.
- Add Barrage on rares or tough packs for extra tornado projectiles.
- Keep moving between packs while Herald of Ice shatters frozen enemies offscreen.
Bosses:
- Drop War Banner before you commit to the burst.
- Apply Freezing Mark for the freeze chance and bonus damage.
- Use Ice-Tipped Arrows for the cold conversion and chilled ground.
- Build Frenzy Charges through Combat Frenzy, then activate Barrage.
- Perform three Whirling Slash attacks, then cast Twister immediately while inside the whirlwind.
- Repeat once your cooldowns and Frenzy Charges are back.
The one rule that catches people out: leaving the Whirling Slash storm too early strips your damage bonus, so finish the setup before you fire.
Leveling the Twister Spirit Walker
Because both main skills work from level 1, the campaign is just an early version of the endgame build. Keep upgrading your spear, run the combo, and gear for survivability rather than going all-in on damage too early. If you would rather skip the grind, NextTier can run the campaign completion for you or set you up with ready leveling gear.
- Prioritise life and resistances on gear through the acts, and take as much Armour or Armour/Evasion hybrid as you can find. Full evasion this early feels rough and gives no Deflect benefit yet.
- Add cold or physical flat damage to attacks on gloves and rings; that flat damage is your strongest secondary stat while leveling.
- Pick up additional levels to projectile skills wherever you can, since they scale Twister hard.
- Follow the passive priority list and spend your weapon-set passive points as they unlock. This build uses those weapon-set points heavily and expects a few minor respecs as you go.
- Keep Whirling Slash at level 1 from the very start (see Tips for why).
Skills and Support Gems
Twister is the source of both clear and boss damage, empowered by Whirling Slash and pushed further by Barrage and Frenzy Charges. Ice-Tipped Arrows handles the cold conversion. Support gems matter a lot here, so upgrade the supports on Twister, Whirling Slash, and Ice-Tipped Arrows first, especially the hybrid attribute ones you can run in any setup.
Skill | Support gems |
|---|---|
Twister | Elemental Armament II, Retreat III, Frost Nexus, Projectile Acceleration III, Deliberation |
Whirling Slash | Rage III, Rapid Attacks III, Knockback, Magnified Area II |
Ice-Tipped Arrows | Magnified Area II, Elemental Focus, Cooldown Recovery II, Elemental Armament II |
Barrage | Rapid Casting II, Cooldown Recovery II, Perpetual Charge, Heightened Charges |
Freezing Mark | Charged Mark, Mark of Siphoning II, Prolonged Duration II, Eternal Mark |
War Banner | Prolonged Duration II, Magnified Area II, Refraction II |
Herald of Ice | Magnified Area II, Frozen Spite, Elemental Armament II, Elemental Focus |
Combat Frenzy | Charge Profusion II |
Wind Dancer | Knockback, Life Leech III |
Vivid Stampede | Magnified Area II, Commiserate, Overcharge, Shock |
Wild Protector | Elemental Army, Meat Shield II, Loyalty |
Exposing Cry | Malice |
Weapon Sets Explained
This is the part that makes or breaks the build, so it is worth getting right. You run two spears with completely different jobs, and the game swaps to the correct weapon automatically based on which skill you use. Many guides colour-code them, with weapon set 1 shown in red and weapon set 2 in green.
Set | Built for | What to chase |
|---|---|---|
Weapon Set 1 | Whirling Slash | As much attack speed as possible, so you spin up the storm quickly |
Weapon Set 2 | Twister and Barrage | High flat damage on prefixes, plus projectile levels; do not chase the raw DPS number |
A note on that last point: a weapon's listed DPS includes attack speed, which inflates the number for a set 2 spear even though Twister cares far more about flat hit damage. Read the flat damage rolls, not the DPS tooltip, when picking your set 2 spear.
Ice-Tipped Arrows has to live on Weapon Set 2. The cold conversion only applies when Ice-Tipped Arrows and Twister share a weapon set, and Twister sits on set 2. Put it on set 1 and it converts Whirling Slash and Barrage instead, which does nothing useful for you. While leveling, before you allocate Dance with Death, your movement and werewolf skills default to set 1 (with a Talisman) for movement speed, while Twister always stays on set 2 with a spear.
Ascendancy Order
The Spirit Walker points are what turn the Twister build into a real endgame character, adding both damage and defensive layers. Take them in this order:
- Primal Bounty - first pick. A major early power spike for Twister that also starts your Primal Owl Feather generation while leveling.
- Mhacha's Gift - another strong scaling layer for Twister and your overall combat power, and more feather generation.
- Wild Protector - your defensive pickup; the summoned ally improves survivability during the setup window.
- Vivid Stampede and Sacred Unity - these replace the older ground-effect setup and add Onslaught, Intimidate, reduced damage taken, and more damage output. Sacred Unity ties the previous nodes together for a noticeable jump.
Passive Tree Priorities
There is no required keystone. The tree stacks projectile damage and attack speed, cold scaling, and critical strike chance, layered over a strong evasion and deflection backbone for defense. Defensively the plan is to avoid hits with Evasion and Deflection rather than to tank them, with the Bear covering you during the combo setup.
Notable passive priorities | ||
|---|---|---|
Primal Instinct | Escape Velocity | Dance with Death |
Stalk and Leap | Catalysis | Precise Point |
Agile Succession | Maiming Strike | Roll and Strike |
Blinding Strike | Coming Calamity | Marked for Sickness |
Hail | Deep Freeze | Marked Agility |
Harness the Elements | Enhanced Reflexes | The Spring Hare |
Precision Salvo | Acceleration | Versatile Arms |
Forces of Nature | Multitasking | |

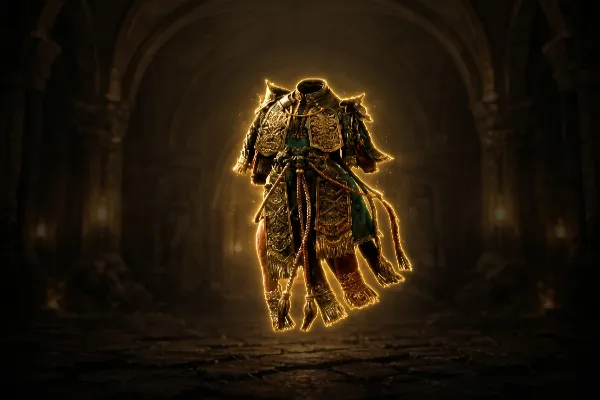
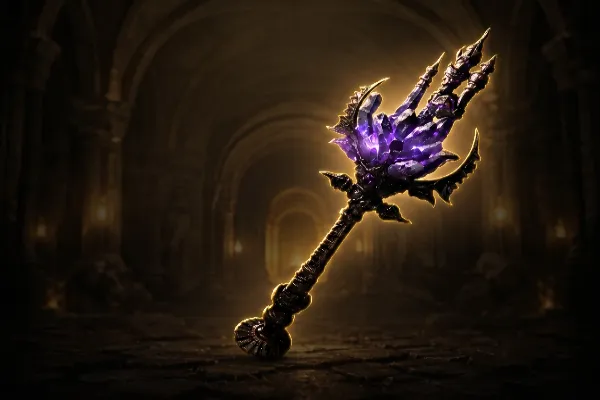
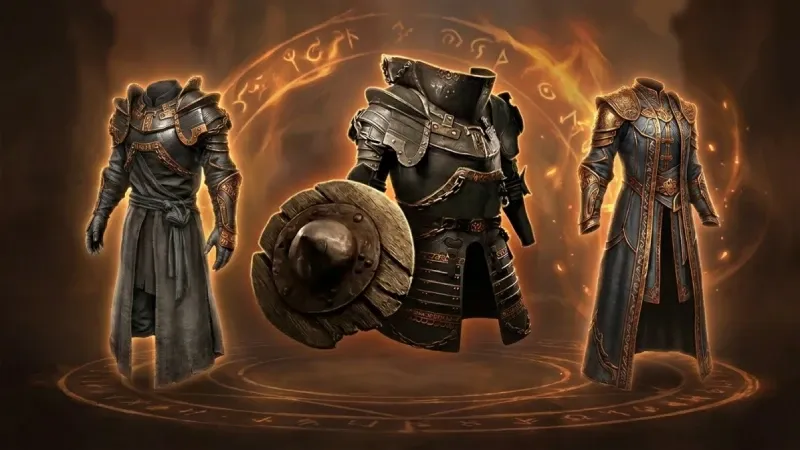
Gear: Best Bases and Priority
The spear defines your damage, so it is the highest-priority upgrade at every stage. Everything else is there to keep you alive and to meet attribute requirements, scaling Evasion, Deflection, life, and resistances. Offensive stats live mostly on your weapons and amulet.
Slot | Target base |
|---|---|
Weapon | Akoyan Spear (one per weapon set) |
Helmet | Desert Cap |
Body Armour | Slipstrike Vest |
Gloves | Polished Bracers |
Boots | Drakeskin Boots |
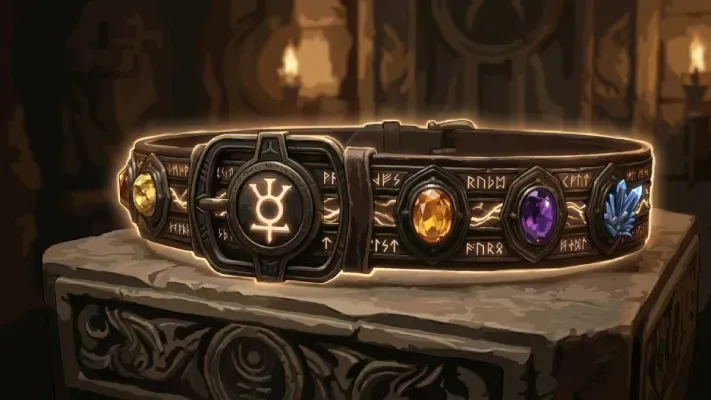
Belt | Rawhide Belt |
Amulet | Stellar Amulet |
Ring | Amethyst Ring |
Priority order as you upgrade:
- Spear - always the top upgrade; replace it often during leveling and early maps. If your damage feels low, the spear is almost always the fix.
- Gloves and rings - your main added damage outside the weapon; look for flat physical and cold damage to attacks.
- Body armour - high Evasion and Deflection; this is your core defensive layer.
- Boots - movement speed first, then life and resistances.
- Helmet - a strong Evasion base, with later upgrades favouring defensive consistency over damage.
- Amulet - your best slot for offense; projectile scaling, crit bonuses, and damage multipliers.
- Belt - life, resistances, and any attribute you still need for gems and gear.
- Jewels - last; used to fine-tune damage, crit consistency, or defensive stability once the core is set.
None of these are required, but a few uniques are strong optional upgrades. Olroth's Conviction (belt) is the single most impactful non-weapon upgrade after the campaign, so chase it early in mapping. The Black Insignia (helmet) grants Tailwind for speed and evasion and is usually cheap. Hyrri's Ire (body armour) is a big endgame boost to damage, utility, and defense. The Taming (ring) is a strong mid-endgame pickup. To fund a good spear and the crafting, grab a ready league starter build or the currency below.

Stat Priority
Stat goals shift between the campaign and the endgame. Early on you want life, defense, and the requirements to use your gear; later you lean into critical strikes and projectile scaling. Critical Strike Chance and Critical Damage Bonus multiply everything else, so do not ignore them late.
Campaign and early mapping:
- Maximum life and evasion rating (flat and increased).
- Movement speed.
- Spirit, to run your reservation and herald skills.
- Flat cold and physical damage to attacks.
- +levels to all projectile skills.
- Intelligence and Dexterity to meet gem requirements.
- Leech a small percentage of physical attack damage as life and mana.
- Resistances: fire, cold, and lightning capped at 75%, chaos as high as you can manage.
Endgame:
- Increased Critical Hit Chance and Critical Damage Bonus.
- Flat cold and physical damage to attacks.
- +levels to all projectile skills.
- Attack speed.
- Maximum life and evasion rating.
- Deflection rating gained as a percentage of evasion rating.
Utility and recovery: movement speed, recovery rate and amount, charge generation and charges per use, skill duration, and gaining a Frenzy Charge on use.
Atlas Passive Strategy
This build clears dense content faster than most, so any Atlas investment in pack size pays back directly in loot and experience. Build it in three phases:
- Sustain (first ~20 points) - the number one goal is never running out of maps. Take the nodes that improve your chance of dropping a higher map tier before anything else.
- Density (mid Atlas) - once sustain is set, push monster pack size and item quantity. With Primal Bounty active, a single Twister volley can clear a full screen.
- Rarity and currency (endgame) - aim for 100%+ item rarity, but never at the cost of clear speed; if you slow down, the rarity is pointless.
Core Atlas nodes |
|---|
Rising Danger into Twin Threats, Expanding Hordes, and Bountiful Bloodlines |
Tips to Stay Alive and Clear Faster
- Keep Whirling Slash at level 1 for the entire game. Leveling it only raises the mana cost; it is a trigger for Twister, not a damage skill, and the tooltip damage is misleading.
- Dodge roll as soon as you have three Primal Owl Feathers, not only during the burst. Letting feathers sit at cap wastes regen time, and there is no upside to holding them.
- Wear Armour or Armour/Evasion hybrid gear through the acts. Going full evasion early feels bad and gives no Deflect benefit until much later.
- Treat Olroth's Conviction as a priority once you start mapping; the belt slot adds more to this build than any other non-weapon piece.
- Keep Freezing Mark refreshed on bosses. It lasts 20 seconds, and letting it lapse mid-burst drops both the damage bonus and your freeze buildup.
- Most deaths come from a mishandled weapon swap or a missed dodge roll that empties your Primal Owl Feathers, so keep both habits clean.
Twister Spirit Walker FAQ
What is the Spirit Walker ascendancy and how does it work?
It is a new Huntress ascendancy from patch 0.5.0 with two playstyles: a companion build that tames unique bosses and summons a Bear, or a spirit build that empowers your attacks through the Primal Owl, Vivid Stag, and Bear. This Twister build uses the spirit side, generating Primal Owl Feathers that add Twister projectiles and speed.
Is Twister Spirit Walker a good league starter in Runes of Aldur?
Yes, it is one of the best. It clears T15 maps with no required uniques, the campaign rotation is simple, and Primal Bounty gives a strong burst window that holds up into late-game content.
Why does Ice-Tipped Arrows need to be on Weapon Set 2?
The cold conversion only applies when Ice-Tipped Arrows and Twister share a weapon set. Twister lives on set 2, so Ice-Tipped Arrows goes there too. On set 1 it would only convert Whirling Slash and Barrage, which does nothing useful.
Why should I keep Whirling Slash at level 1?
Whirling Slash is only a trigger for Twister, not a damage skill. Leveling it raises the mana cost with no real benefit, which hurts when you are spamming the full rotation in the endgame.
What is the best spear for Twister Spirit Walker?
Run two: a fast attack-speed spear on Weapon Set 1 to stack Whirling Slash quickly, and a high flat-damage spear on Weapon Set 2 for Twister and Barrage. In the endgame, prioritise flat damage, crit, and projectile levels on the set 2 spear over raw attack speed.
How much life do I need for the endgame?
Around 2,500+ entering maps, scaling toward 4,000+ for T15 to T18 content. Evasion and Deflect lower your effective damage taken, but keep an eye on life against lethal maps and roll off Elemental Weakness mods.
Can it clear all endgame content?
Yes. A geared Twister Spirit Walker with the crit transition and Olroth's Conviction handles T18 maps and the Tier 4 Arbiter, with freeze locking down most enemies and the Barrage into Twister burst handling bosses.