
 ~7 min
Palworld has six raid bosses - Bellanoir (plus its Libero form), Blazamut Ryu, Xenolord, the Terraria crossover Moon Lord, and Hartalis - spanning eleven encounters once Ultra and Master variants are counted. Each is summoned by placing a crafted Slab in a Summoning Altar, cannot be caught, and instead drops an egg of itself plus IV Fruits and other endgame rewards on defeat.
The 1.0 launch re-tuned raid difficulty around the new Level 80 cap, pushing the Ultra variants to Level 80 with multi-million HP pools. Here is every encounter with its numbers, how slabs and the altar work, what each boss drops, and the strategies that actually clear them.
All Raid Bosses at a Glance
Every encounter, from the entry fight to the Level 80 Ultras (values per the 1.0 database):
Encounter | Level | HP | Element |
|---|---|---|---|
Bellanoir | 30 | 300,000 | Dark |
Bellanoir Libero | 50 | 450,000 (+1/3 heal) | Dark |
Bellanoir Libero (Ultra) | 80 | 2,394,000 | Dark |
Blazamut Ryu | 55 | 512,680 | Fire (Electric at low HP) |
Blazamut Ryu (Ultra) | 80 | 2,550,000 | Fire (Electric at low HP) |
Xenolord | 65 | 1,414,000 | Dark / Dragon |
Xenolord (Ultra) | 80 | 2,562,000 | Dark / Dragon |
Moon Lord | 50 | 422,500 | Crossover boss |
Moon Lord (Master) | 80 | 2,352,000 | Crossover boss |
Hartalis | 70 | 972,000 | Water/Grass, then Neutral |
Hartalis (Ultra) | 80 | Highest tier | Water/Grass, then Neutral |
How Raid Bosses Work: Altar, Slabs, Rules
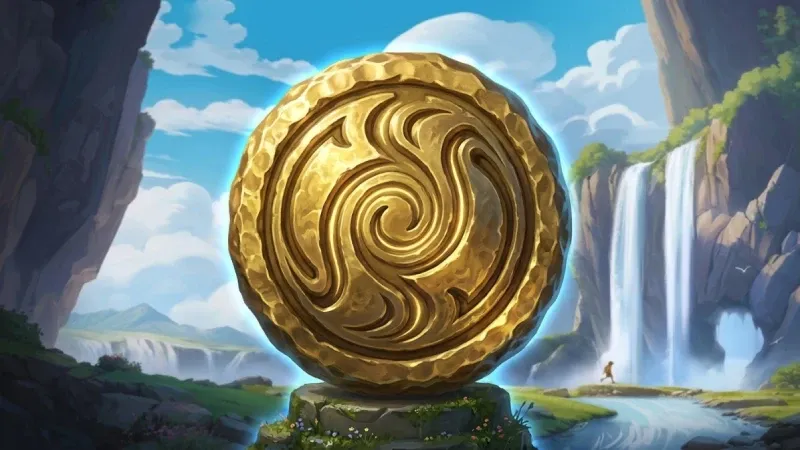
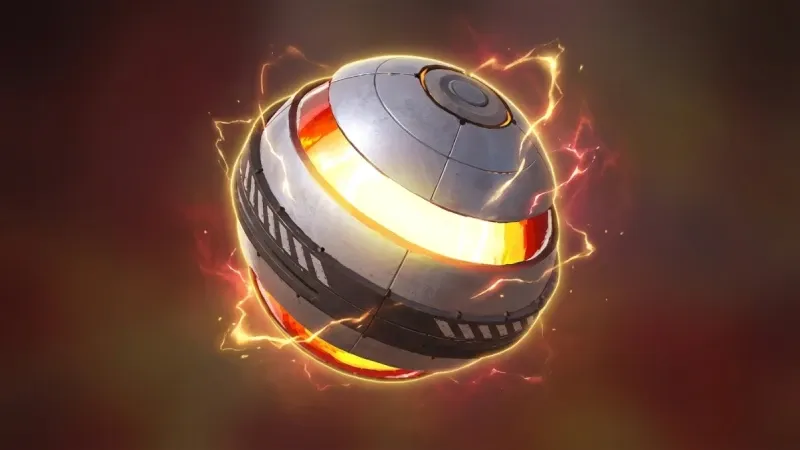
Raids run on three pieces. The Summoning Altar unlocks at Technology Level 33 in the Ancient Technology column for 3 Ancient Technology Points, built from cheap stone and Paldium. Each boss has its own Slab, crafted from 4 Slab Fragments at an Assembly Line (you need at least one fragment in your inventory to see the recipe). Fragments come from treasure and dungeon chests - Bellanoir's start appearing from around Level 19 chests, while Libero's and later bosses' fragments sit in high-level dungeons and dungeon-boss drops.
Two consumption rules catch new raiders out: both the Slab and the Altar are consumed by the fight, so stock spare stone and Paldium before a raiding session. When you place the Slab you choose where to fight: at your own base, or teleported to the dedicated Raid Area added in a later update, which spares your real base from splash damage - bring materials for a Remote Palbox Device if you fight there.
The rules of the fight itself: a 10-minute timer, the boss cannot be caught, your own death does not fail the raid - you only lose if the timer expires or the Pal Box is destroyed - and the boss focuses whoever deals the most damage, so your strongest attacker is also your tank.
Raid Rewards: Why These Fights Are Worth Farming
Raids are the game's premier repeatable loot loop:
- The boss's egg - defeat, not capture, is how you obtain raid Pals. The egg hatches a non-boss version with roughly a 10% chance to be an Alpha, and Ultra variants drop the same eggs as their normal versions. Bellanoir's egg hatches female about 90% of the time.
- IV Fruits - the raid-exclusive items that lock a parent's IVs before breeding, the backbone of any perfect-stat program.
- Training Manuals and Training Crystals - direct Pal XP items; the Crystals are exclusive to Bellanoir.
- Ultra Slabs - defeating a standard boss drops the slab for its harder version (Blazamut Ryu, Xenolord, Hartalis, and Moon Lord Master all work this way).
- Crafting loot - Ancient Civilization Cores and boss-specific prizes like the Crown of Salvation from Hartalis (Ultra).

Bellanoir and Bellanoir Libero
The entry raid summons at Level 30 but punches far above it - wait until around Level 40-45 before trying. Bellanoir is a Dark caster, so Dragons rule the fight: Astegon quad-resists its attacks and tanks beautifully, with Orserk, Jormuntide, and Jormuntide Ignis as strong damage picks. For your own damage, ride a Chillet to infuse your attacks with Dragon element - it stacks with Gobfin Partner Skills - and unload Rocket Launcher shots. Respect two attacks: Nightmare Ray tracks sideways, so run directly away from it, and Apocalypse hammers your base Pals.
Bellanoir Libero is the Level 50 upgrade with a healing phase (it recovers a third of its HP) and a floating hitbox that dodges many attacks. Merchant-bought skills like Seed Mine and Flare Storm connect reliably, and Beam Slicer and Flame Funnel top the damage chart for the fight.
Blazamut Ryu
The Fire dragon opens as a straightforward burn-it-down fight, then flips the script: at 10% HP it heals 30% and swaps to Electric, unlocking new Electric attacks - so budget the timer for that second wind. It also resists status effects more as the fight goes on, so stuns get rarer. The proven player-damage build swaps elements with the phases: Azurobe for phase one (its Electric attack bonus punishes the Fire form), then Anubis or Gildane after the swap, with 4 Gobfins multiplying your gun damage throughout. The alternative Pal-damage build runs 2 Knocklem plus 3 Dumud, rotating Knocklems for full Partner Skill uptime.
Xenolord
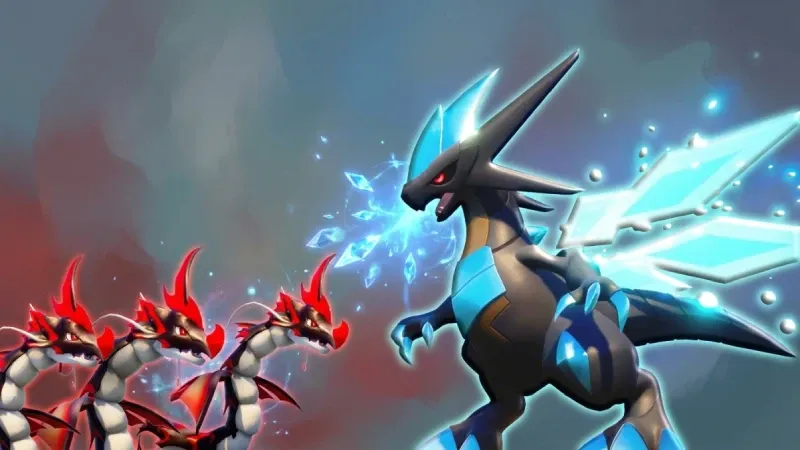
The Dark and Dragon invader is the fight that defines endgame raid teams. It rains meteors and beams while summoning waves of Xenogard and Xenovader adds, so the strategy splits in two: fight it from the air on a flying mount to dodge the comets, Blast Cannon, Omega Laser, and Beam Slash (you will need the speed to outrun Satellite Bit), and bring a dedicated add-clear crew - around six Pals with Meteorain handles the waves. Ice and Dragon counter its typing: Frostallion with 4 Gobfins is the classic player-damage core, freshly bred Pals with Holy Burst or Absolute Frost carry the Pal-damage version, and the Terraria-crossover Terraprisma with Plasma Cannons shreds adds the moment they spawn. One caution: Beam Slicer deals triple damage to flying targets, so it can one-shot your mount - keep moving.
Moon Lord (Terraria Crossover)
The crossover guest is not a Pal at all: a Level 50 godlike being with heavy AoE that spawns three True Eyes of Cthulhu mid-fight. Its gimmick is positional - damage only counts through its eyes and heart - and its normal version carries no damage reduction at all, making it the softest target on the roster. The Master version at Level 80 is another story entirely, with a 2.35-million HP pool that demands a finished endgame team.
Hartalis
The final and toughest raid Pal opens as a Water and Grass hybrid, where Electric (an Orserk) is your best phase-one answer. At zero HP it transforms into a Neutral-type second phase, unleashing a shockwave you must dodge and raising barriers that only break to Electric, Fire, or Dark damage depending on the phase - so Dark hitters like Bellanoir Libero or Selyne finish the job. It is the raid the rest of the ladder trains you for, and its Ultra drops the Crown of Salvation.

Building One Team for Every Raid
The efficient path is one army, not five. A team bred and leveled for Xenolord - the hardest standard fight - handles Blazamut Ryu, Bellanoir Libero, and their Ultra variants without specific counters, so build once and farm everything. The universal core: a player-damage carry (element-matched to the boss) plus 4 Gobfins for the gun multiplier, or the Knocklem-Dumud rotation for Pal damage, over a foundation of properly bred passives and IVs - our breeding guide covers building that line, and everyone should be at or near the cap first (see the leveling guide). The loot loops back into itself: IV Fruits from early raids fund the breeding that clears the later ones.
Raid Tips and Common Mistakes
- Fight in the Raid Area, not your main base. Splash damage on a production base costs more than the teleport ever will.
- Pre-craft altars. Both the slab and the altar are consumed, so a farming session needs a stack of stone and Paldium ready.
- Never bring a must-not-die Pal. The boss focuses the top damage dealer, and raid attacks hit hard - raid armies are bred to be replaceable.
- Budget the timer for the gimmick. Ryu's heal, Libero's recovery, and Hartalis's second phase all effectively extend the HP bar past what you see.
- Do not kill your own clock chasing captures. Raid bosses cannot be caught - the egg is the prize, so pure damage is the whole game plan.
- Farm normals before Ultras. The Level 80 Ultra tuning in 1.0 assumes a finished, awakened endgame team - the standard versions drop the Ultra slabs anyway.
Save -20% on your boost ⚡

FAQ
How do you summon a raid boss in Palworld?
Build a Summoning Altar (Technology Level 33, 3 Ancient Technology Points), craft the boss's Slab from 4 Slab Fragments at an Assembly Line, and place the Slab in the altar. You then choose to fight at your base or teleport to the dedicated Raid Area. Both the slab and the altar are consumed by the fight.
Can you catch raid bosses in Palworld?
No. Raid bosses cannot be captured by any means - defeating one instead drops an egg that hatches a non-boss version of the Pal, with roughly a 10% chance of hatching an Alpha. Ultra variants drop the same eggs as their standard versions.
How many raid bosses are there in Palworld 1.0?
Six bosses across eleven encounters: Bellanoir, Bellanoir Libero (plus Ultra), Blazamut Ryu (plus Ultra), Xenolord (plus Ultra), the Terraria crossover Moon Lord (plus Master), and Hartalis (plus Ultra). The 1.0 launch re-tuned the Ultra tier to Level 80 with multi-million HP pools.
Where do you get raid boss slabs?
Craft each Slab from 4 Slab Fragments found in treasure and dungeon chests - Bellanoir's fragments appear from around Level 19 chests, while later bosses' fragments come from high-level dungeons and dungeon bosses. Defeating a standard boss also drops the slab for its Ultra version (Moon Lord drops its Master slab).
Do you lose the raid if you die?
No. Your own death does not fail the encounter - a raid is only lost if the 10-minute timer expires or your Pal Box is destroyed. The boss focuses whoever deals the most damage, so expect to be the target while your build is working.
What do raid bosses drop?
The boss's egg, IV Fruits for breeding, Training Manuals (with Training Crystals exclusive to Bellanoir), Ancient Civilization Cores, Ultra slabs for the next difficulty, and boss-specific prizes like the Crown of Salvation from Hartalis (Ultra). It is the game's best repeatable endgame loot loop.
What is the best team for raid bosses?
One army covers everything: a team built for Xenolord also clears Blazamut Ryu, Bellanoir Libero, and their Ultras. The universal core is an element-matched player-damage carry plus 4 Gobfins for the gun multiplier (or a 2 Knocklem + 3 Dumud rotation for Pal damage), on top of properly bred passives and IVs.